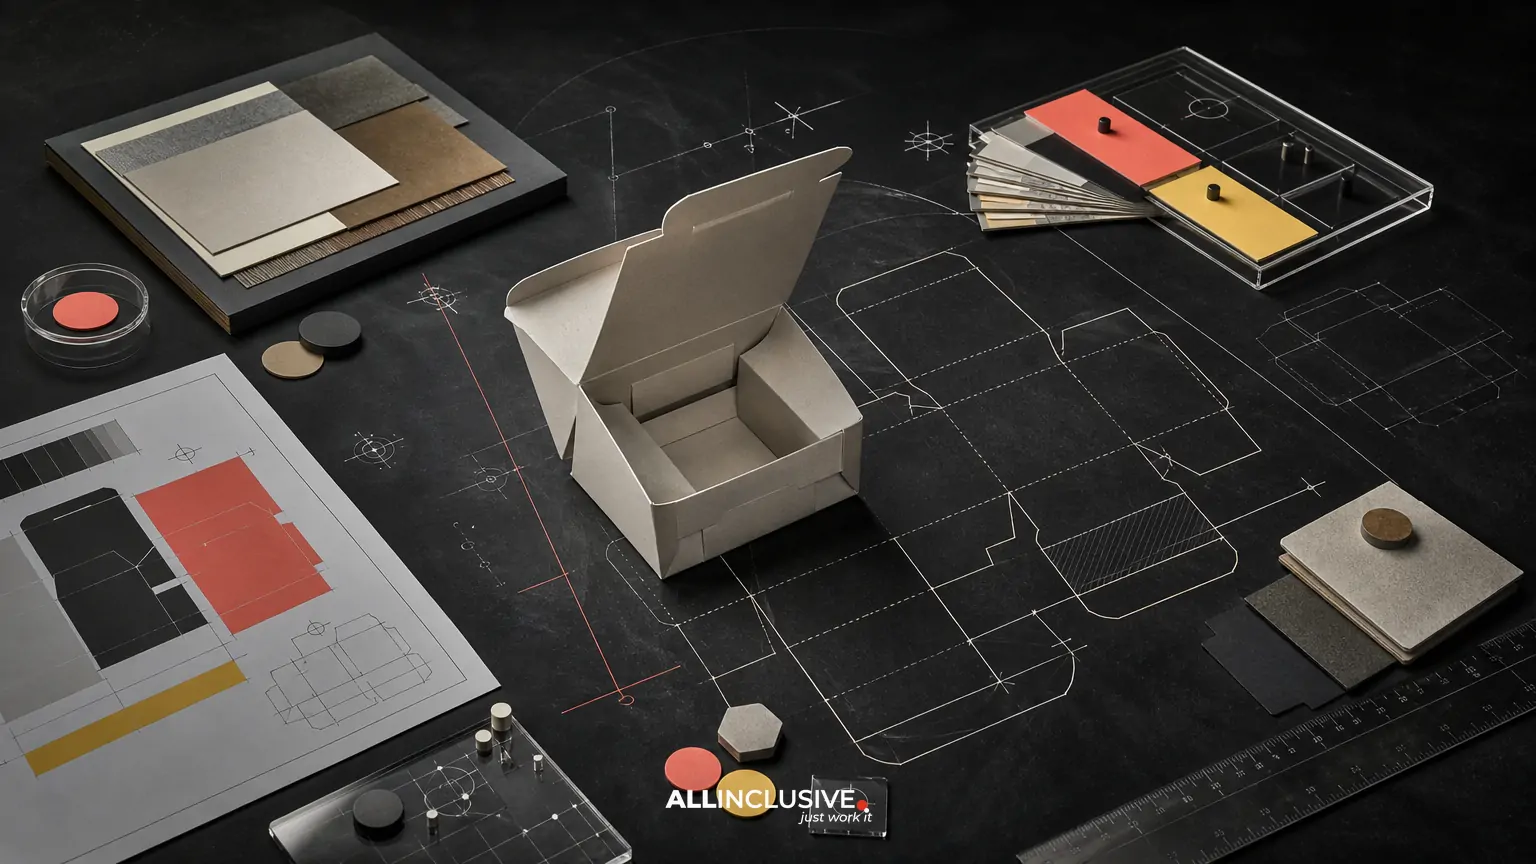
Packaging print production is the process of turning approved packaging artwork into files and physical results a printer can manufacture consistently. It sits between packaging design and production: the design establishes the visual and structural direction, while production engineering makes that direction workable on a chosen substrate, press and finishing line.
The most reliable workflow confirms structural constraints early, separates design layers from technical information, builds color around the actual substrate and printing process, and gives the vendor a controlled package of files and approvals. A beautiful concept can still fail if folds, bleeds, trapping, coatings, barcodes or artwork versions are not resolved before handoff.
This guide covers the decisions that matter most: dielines, color, prepress, proofs, materials, finishing and vendor communication. For the broader strategic and visual scope, see packaging design.
What packaging print production includes
Packaging print production typically includes five connected workstreams:
- Structural preparation: confirming the package format, panels, folds, seams, glue areas, closures and tolerances.
- Artwork construction: placing graphics, copy, regulatory information, barcodes and variable data against the approved structure.
- Color and finishing: selecting process or spot colors, coatings, varnishes, foils, embossing and other production effects.
- Prepress: checking file integrity, image resolution, overprints, bleeds, separations, fonts and technical specifications.
- Vendor handoff: delivering clearly named files, reference proofs, specifications and approval instructions.
These workstreams are interdependent. Changing a carton board can alter color appearance; changing a fold can move legal copy; changing a coating can affect barcode readability. Production decisions should therefore be reviewed as a system rather than as isolated file checks.
Start with the printer’s production brief
Before building final artwork, request the printer or converter’s current specifications. A vendor brief should identify the press or decoration process, substrate, sheet or roll format, minimum type sizes, color capabilities, finishing tolerances, barcode requirements, proofing method and preferred file format.
Ask for the approved structural template from the manufacturer whenever possible. A generic dieline may look correct but lack the exact cut, crease, perforation, glue and safety information required for a particular line. Confirm which dimensions are fixed and which may change during optimization.
Record the following in one production brief:
- Package type, finished dimensions and intended fill volume
- Substrate, thickness, coating and surface treatment
- Printing process and press limitations
- Number of inks and any required spot colors
- Bleed, quiet-zone and safety-area requirements
- Finishing operations and registration tolerances
- Barcode symbology, size and verification expectations
- Proof type, approval stages and color reference standard
- File naming, packaging and transfer requirements
Dielines: the structural foundation of the file
A dieline is a technical drawing that indicates how printed material will be cut, folded, creased, perforated or assembled. It is not merely a background guide. Its geometry determines whether artwork lands on the intended panels and whether the finished package can be produced and assembled.
Separate technical and artwork information
Keep the dieline on a clearly named technical layer, separate from artwork. Use distinct spot colors or line conventions for cut, crease, perforation, glue and other operations, following the vendor’s specification. Lock the technical layer before final export, but retain an editable master file.
Do not accidentally print dieline marks. Conversely, do not remove the technical information from the working file simply because it is hidden in the final PDF. The printer may need it for imposition, inspection or finishing coordination.
Check panels, folds and safety zones
Review artwork across every panel, including the underside, reverse, flaps and glue areas. Keep important copy, logos and faces away from cuts, creases and curved edges. Extend backgrounds and images through the required bleed, but do not extend critical content into the bleed.
Pay special attention to:
- Text that crosses a fold or wraps around a corner
- Graphics that must align across adjacent panels
- Seam and glue areas that may be hidden or visible
- Panels that appear inverted after folding
- Small copy placed near a cut or crease
- Top and bottom orientation during filling and display
A physical blank mockup is often more informative than a flat screen review. It can reveal an upside-down panel, an awkward hand position or a shelf-facing side that was not obvious in the unfolded layout. A digital packaging 3D mockup can support visualization, but it does not replace a vendor-approved structural template or physical proof.
Color decisions: process, spot and substrate
Color in packaging is controlled by more than a screen value. The result depends on ink or toner, substrate whiteness, absorption, coating, press conditions, viewing light and finishing. Treat color expectations as production specifications rather than as assumptions based on a monitor.
Process versus spot color
Process color uses combinations of cyan, magenta, yellow and black. It is useful for photography, illustrations and broad tonal ranges. Spot color uses a separately mixed or defined ink and can provide more repeatable brand colors or special effects, subject to the printer’s process and substrate.
The choice involves trade-offs. Additional spot colors can improve a key brand tone but may increase setup complexity or cost. Converting every spot color to process may simplify production but can change appearance and reduce consistency across materials. Ask the printer which approach best fits the run, substrate and required color control.
Account for uncoated and colored materials
Ink behaves differently on coated paperboard, uncoated stock, kraft materials, films and textured substrates. Uncoated and brown materials may absorb ink or shift color toward a warmer, darker appearance. White ink may be needed under selected colors on transparent or dark substrates.
Define the visual priority before approving color: is the goal a close brand match, a consistent contrast level, a premium finish or economical reproduction? Use a vendor proof or press approval appropriate to the risk. A screen proof is useful for layout and content, but it is not a guarantee of final substrate appearance.
Prepress checks that prevent avoidable errors
Preflight should combine automated checks with a human visual review. Automated tools can identify technical problems, but they cannot reliably determine whether a claim is on the correct panel, whether a product image is misleading or whether the package reads correctly when assembled.
File and image checks
- Use the printer’s required PDF standard or native-file specification.
- Confirm image resolution at final placed size, not only at original file size.
- Embed or outline fonts according to the vendor’s workflow and licensing requirements.
- Check that linked graphics are current and that no low-resolution previews remain.
- Confirm page size, orientation, bleed and trim settings.
- Review transparency, clipping masks and overprint behavior.
- Remove unused layers, hidden objects and stray marks from the production export.
Ink and separation checks
- Confirm that black text uses the intended black build.
- Check rich black specifications for large areas.
- Inspect overprinting on small type, white objects and technical lines.
- Verify spot-color names and avoid unintended duplicate swatches.
- Review total ink coverage against the printer’s limit.
- Confirm that knockout and trapping behavior is appropriate for the process.
Content and compliance checks
Production is not the right stage to discover missing net contents, ingredients, warnings, contact details, country-of-origin information or barcode data. Assign content ownership and obtain written approval before release. Packaging requirements vary by product category and market, so legal and regulatory review should come from the appropriate subject-matter owner.
Barcodes deserve a separate inspection. Verify the correct data, orientation, quiet zone, contrast and size with the printer or barcode specialist. A barcode that looks acceptable in a layout may fail after reduction, color conversion, coating or placement on a curved surface.
Proofs, samples and approval gates
Use staged approvals rather than one final sign-off. Each proof answers different questions:
| Proof or review | Best for | Limitations |
|---|---|---|
| Digital layout proof | Copy, panel order, graphics and general composition | Usually does not predict final color or material behavior |
| Contract or color proof | Reviewing color intent under an agreed proofing condition | May not reproduce all substrate and finishing effects |
| Blank structural sample | Checking dimensions, folds, fit and physical handling | Does not show final printed appearance |
| Press proof or production sample | Evaluating the actual process, substrate and finishing | Requires more time and may involve setup cost |
Document what each approval means. A layout approval should not silently become approval of color, copy or regulatory content. Keep a dated, flattened reference PDF for the approved version and identify any deviations the vendor is authorized to make.
Finishing and material choices
Finishing can increase shelf impact, protection or tactility, but every effect introduces production constraints. Coatings may change color, gloss and scuff resistance. Foil and metallic effects may require special artwork separations. Embossing can affect fine detail and registration. Varnish may need its own spot layer and naming convention.
Evaluate finishing against the package’s real use conditions:
- Will the package rub against other units during shipping?
- Will condensation, refrigeration or handling affect the surface?
- Does the finish interfere with barcode scanning or small type?
- Can the selected substrate run reliably on the intended filling line?
- Will the effect remain legible at normal shelf distance?
- Does the material choice support the brand’s sustainability and disposal claims?
Sustainability decisions should be made with the full system in view, including material sourcing, coatings, inks, adhesives, structure, transportation and end-of-life conditions. For a broader discussion of this topic, see sustainable packaging design. Avoid making environmental claims in artwork until they have been substantiated and approved.
Building a reliable vendor handoff package
A vendor should not have to infer which file is final, which layers are technical or which color reference controls approval. A concise handoff package reduces ambiguity and creates an audit trail.
Include:
- Production artwork: the approved, correctly sized file with technical layers identified.
- Reference PDF: a flattened visual reference showing the intended reading order and appearance.
- Dieline or structural file: the vendor-approved version, with revision status.
- Specification sheet: substrate, inks, coatings, finishing, dimensions and special instructions.
- Content approval: confirmation of copy, legal content, barcode data and required marks.
- Proofing instructions: the approval method, color reference and named decision-maker.
- Revision log: version number, date, changes and approval status.
Use unambiguous names such as Product_Carton_US_Rev04_Approved.pdf rather than names such as final-final2.pdf. Keep working files, links and fonts in a separate archive when appropriate, and confirm whether the vendor wants packaged native files or a print-ready PDF only.
A final packaging production checklist
- Is the dieline approved by the printer or converter?
- Are cuts, creases, perforations and glue areas correctly separated?
- Are all panels oriented correctly in the assembled package?
- Do bleeds and safety zones meet the vendor’s specification?
- Are substrate, ink count, coatings and finishing documented?
- Have color expectations been reviewed for the actual material?
- Have fonts, images, transparency, overprint and ink coverage been preflighted?
- Are barcodes readable, correctly sized and placed in a suitable area?
- Has all product, legal and regulatory content been approved?
- Has the appropriate proof or physical sample been reviewed?
- Is there one clearly identified approved file and reference PDF?
- Does the revision log show who approved the release?
How production fits into the broader design workflow
Packaging print production works best when it begins before the visual design is considered finished. Structural research, category expectations, brand identity, information hierarchy and manufacturing constraints should inform one another. The same principle applies across other deliverables covered in graphic design, where a file may need to move from concept to print, digital distribution or multiple adaptations.
When the production brief, dieline, artwork, proof and handoff package are treated as one controlled system, teams reduce late corrections and make vendor decisions easier to evaluate. For broader guidance on coordinating design work across formats, visit design. When the project requires strategic packaging development beyond production preparation, the relevant next step is the packaging design service page.