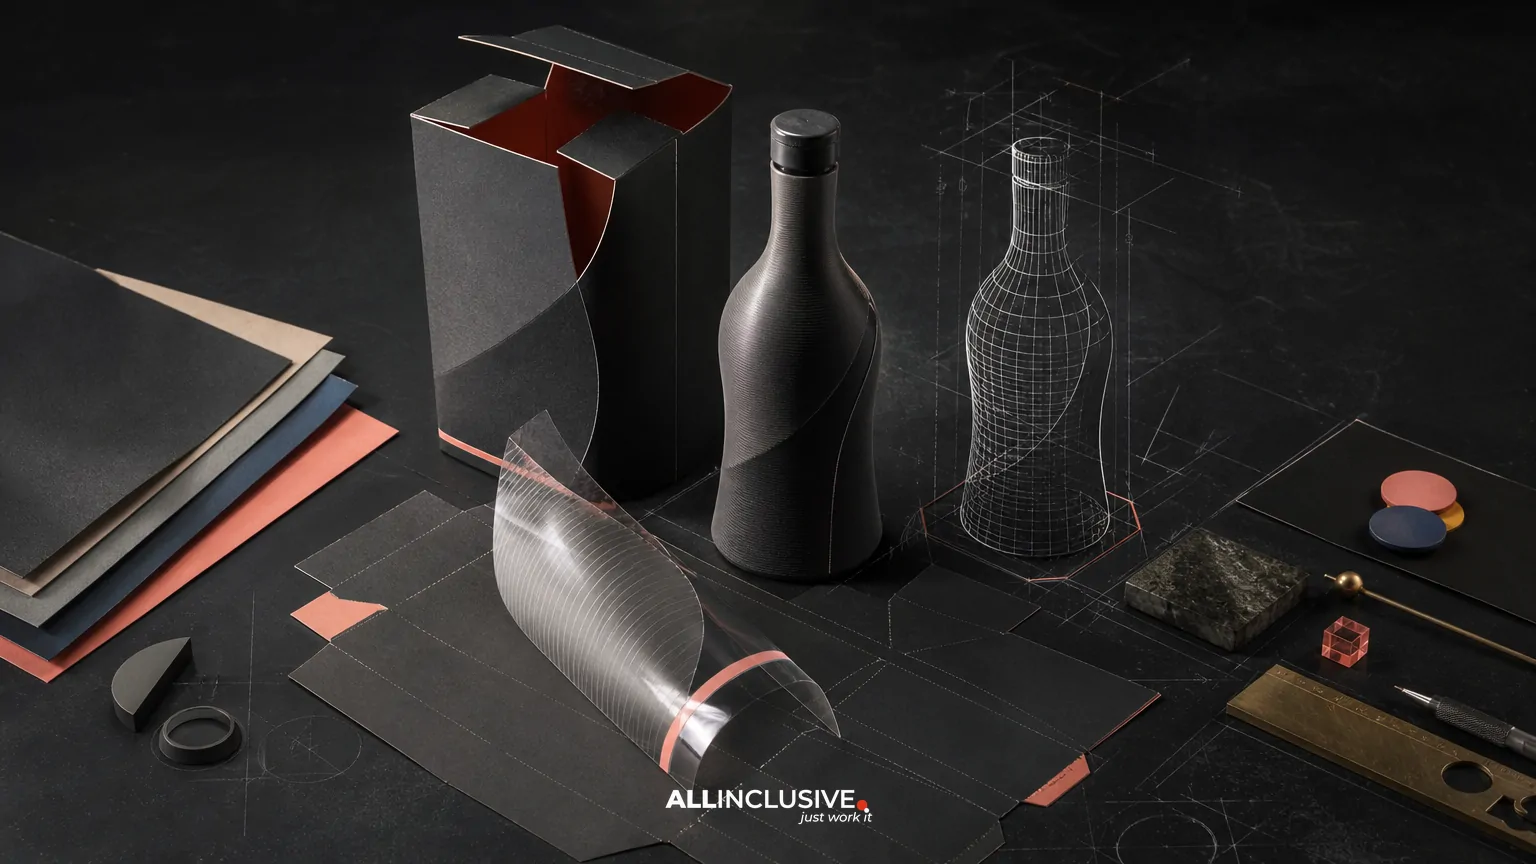
A packaging 3D mockup is a digital representation of a package assembled in three dimensions. It helps teams evaluate how artwork, structure, materials, closures, labels, and finishes work together before ordering physical samples or beginning production.
The most useful mockup is not merely a polished product image. It is a decision-making tool. It can expose distorted artwork, poor panel alignment, unreadable information, weak shelf visibility, impractical folds, and misleading assumptions about material or scale. Used at the right stage, a packaging 3D mockup reduces avoidable revisions while clarifying what still requires a dieline review, physical proof, or printer confirmation.
This article explains what mockups can validate, where their limits are, and how to prepare a vendor-ready review process. For the broader scope of packaging strategy and execution, see packaging design services.
What a packaging 3D mockup can validate
A mockup is most valuable when its purpose is defined before rendering begins. Different views answer different questions, and one image rarely validates every production decision.
Form and proportion
Three-dimensional visualization lets stakeholders assess the apparent height, width, depth, taper, shoulder, gusset, closure, and overall balance of a package. A box that looks proportionate in a flat layout may feel too tall, too narrow, or difficult to hold once assembled.
Use the mockup to confirm that the proposed structure supports the intended product experience. It can also reveal whether a front panel has enough visual area for the product name, key claim, and required hierarchy.
Artwork placement and panel transitions
Curved surfaces, folds, seams, corners, and closures affect how artwork is perceived. A three-dimensional view can show whether a logo disappears around a curve, whether a pattern breaks awkwardly at a side seam, or whether a critical message lands too close to a fold.
This review is especially important for flexible pouches, bottles, tubes, wraparound labels, cartons, and packages with multiple visible faces. The render should be checked against the approved flat artwork rather than treated as a replacement for it.
Shelf and channel visibility
Mockups help teams compare front-facing impact at a realistic viewing angle. Consider the package in a crowded shelf set, a retail display, a case pack, an e-commerce thumbnail, and a product page gallery. A design that works at full size may lose its hierarchy when reduced to a small image.
For e-commerce, review whether the primary identifier remains legible in a thumbnail and whether the package shape is recognizable without relying on subtle finishes that may not appear on screen.
Material and finish direction
A render can communicate the intended relationship between matte and gloss surfaces, metallic accents, transparent areas, paper texture, embossing, debossing, varnish, and foil. These effects are useful for alignment and concept review, but they remain visual approximations.
Reflective materials, translucent films, uncoated stocks, recycled fibers, and specialty finishes can look materially different in a digital scene. Treat the mockup as a specification conversation starter, not proof that a finish will reproduce exactly.
What a 3D mockup cannot prove on its own
Overconfidence in a realistic render is a common production mistake. A mockup can suggest feasibility, but it does not replace technical documentation or physical validation.
- Structural accuracy: The underlying dieline must be correct, including panels, glue areas, folds, bleed, cut lines, safe zones, and tolerances.
- Color reproduction: A screen render does not establish how ink, substrate, lighting, or color-management conditions will affect the final result.
- Material behavior: A render cannot confirm stiffness, stretch, seal performance, scuff resistance, opacity, or how a package behaves during filling and transit.
- Regulatory compliance: Required statements, declarations, symbols, barcodes, warnings, and claims still require appropriate review for the product category and market.
- Manufacturing feasibility: The converter or printer must confirm process limits, minimum line weights, trapping, registration, separations, finishing constraints, and approved file formats.
- Physical ergonomics: A digital model cannot fully test opening force, dispensing, grip, reseal performance, or interaction with the actual product.
The right workflow combines a 3D mockup with a flat production layout, technical specifications, prepress checks, and physical sampling when the decision warrants it.
When to create the mockup
Creating a detailed render too early can create false confidence. Creating one too late can make changes expensive. A practical sequence is to use progressively more precise visualization as the design develops.
- Concept stage: Use simple forms to compare package types, proportions, color families, and broad shelf presence.
- Design development: Apply representative artwork to test hierarchy, panel relationships, imagery, and navigation.
- Pre-production review: Use the approved structure and near-final artwork to inspect seams, folds, finishes, information placement, and viewing angles.
- Vendor handoff: Pair selected renders with the dieline, linked or embedded artwork, specifications, color references, and a clear list of assumptions.
- Sample comparison: Compare the physical proof with the render and document differences that affect approval or production.
The mockup should evolve with the project. A concept render may intentionally simplify materials and technical details, while a pre-production render should identify the exact version of the structure and artwork being reviewed.
Inputs required for a credible packaging 3D mockup
Quality depends heavily on the inputs. Before commissioning or building a render, assemble the following information:
- Confirmed package type and dimensions
- Current dieline or structural drawing
- Panel names and orientation
- Approved or clearly labeled draft artwork
- Material, substrate, and finish assumptions
- Closure, cap, seal, label, or insert details
- Required views, such as front, back, three-quarter, top, open, or in-use
- Intended context, including shelf, hand, shipping case, or e-commerce presentation
- Known printer or converter requirements
- Version number and approval status for every input
If dimensions or structure are still uncertain, label the render as exploratory. That simple distinction prevents a concept image from being mistaken for a production instruction.
How to review a packaging 3D mockup
A structured review is more reliable than asking whether the render “looks good.” Review it in passes, with each pass focused on a specific risk.
Pass one: structure and orientation
- Does the package have the intended proportions?
- Are front, back, side, top, and bottom panels correctly identified?
- Do folds, seams, closures, and openings appear in the right locations?
- Is the product shown at the correct scale?
Pass two: hierarchy and communication
- Can the product and variant be identified quickly?
- Does the front panel prioritize the information that matters most at the buying moment?
- Are important claims, directions, or warnings positioned where they can be seen and read?
- Does the design remain clear when viewed from a distance and at thumbnail size?
Pass three: artwork and production risk
- Are logos, patterns, and images distorted by curves or perspective?
- Do critical elements avoid folds, seals, corners, and trim edges?
- Are barcode and regulatory areas treated as functional zones rather than decoration?
- Are finishes represented consistently with the specification?
- Does the artwork match the current dieline and revision?
Pass four: context and variants
- Does the package stand apart from adjacent products without losing category cues?
- Can the design system extend across sizes, flavors, scents, or product variations?
- Will the package still work in a display, shipper, bundle, or case pack?
- Does the render show enough context to support the intended approval?
3D mockup versus physical sample
These tools answer different questions. A 3D mockup is fast, repeatable, and useful for comparing directions or visualizing a package before a sample exists. A physical sample provides evidence about scale, touch, stiffness, reflectivity, opening behavior, color, and manufacturing tolerances.
| Decision | Best first tool | Why |
|---|---|---|
| Compare several package concepts | 3D mockup | Fast visual comparison without producing multiple samples |
| Check artwork on folds and curves | 3D mockup plus dieline | Combines visual placement with flat technical reference |
| Judge tactile finish and stiffness | Physical sample | Material behavior cannot be fully simulated on screen |
| Confirm color and print reproduction | Printer proof or approved sample | Output depends on substrate, ink, process, and calibration |
| Test opening, dispensing, or sealing | Functional sample | Interaction and performance require physical testing |
When cost, timing, regulatory exposure, or product performance makes the decision consequential, use the mockup to narrow options and the physical proof to validate the selected direction.
Common packaging mockup mistakes
Using a generic template as a final representation
Generic templates can be useful for early exploration, but they may use incorrect proportions, simplified seams, or assumptions about materials. Replace them with the approved structure before final review.
Rendering the wrong artwork revision
A beautiful image can still create confusion if it uses outdated copy, an earlier barcode, or an unapproved colorway. Include the revision date or version in the review file and maintain a single source of truth for artwork.
Showing only the hero angle
A three-quarter front view may hide a crowded side panel, misaligned seam, or weak back-of-pack experience. Request the views needed for the decision, including flat artwork where technical review is required.
Simulating finishes too literally
Digital foil, gloss, transparency, and texture can look more precise than they will in production. Describe the intended finish and confirm it with the supplier rather than approving the effect from the render alone.
Ignoring scale and context
Reviewing a large render on a monitor can disguise problems that appear on shelf or in a mobile shopping experience. Include realistic scale references and test the package in the environments where customers will encounter it.
Preparing vendor-ready files after approval
The render is one part of the handoff, not the handoff itself. A production package should distinguish visual approval from technical approval and include the files a supplier needs to work accurately.
- Final dieline with clearly identified cut, fold, bleed, and safe-area conventions
- Artwork file using the supplier’s requested format and color settings
- Fonts converted or packaged according to the production workflow
- Linked images, spot colors, finishes, and layer naming that match the specification
- Barcode and variable-data assets supplied at suitable quality
- Material, substrate, coating, finishing, and assembly notes
- Approved reference render showing the intended assembled appearance
- Version log identifying approvals, open questions, and changes
For a related overview of files, proofing, and supplier coordination, read packaging and print production guidance. If labels are part of the system, the label design services guide provides additional context on label-specific decisions.
How packaging 3D mockups fit into a broader design system
Packaging should not be evaluated as an isolated object. Its visual language may need to connect to a brand identity, retail materials, product photography, sales presentations, and digital commerce assets. Reviewing a mockup alongside those touchpoints can reveal where the package needs stronger recognition or clearer variant navigation.
For brand-level context, see brand identity design. For related marketing collateral and production needs, explore graphic design services and the broader design resource.
Sustainability claims also deserve careful review. A render may show a natural substrate or simplified material treatment without communicating recyclability, coatings, adhesive choices, disposal instructions, or supply-chain constraints. Use the guidance in sustainable packaging design when environmental considerations influence the brief.
Packaging 3D mockup checklist
- Is the package structure based on a confirmed dimension or clearly labeled as exploratory?
- Does the render match the current artwork revision?
- Are folds, seams, openings, closures, and panel orientations accurate?
- Has the package been viewed at realistic shelf and thumbnail scales?
- Are critical claims, identifiers, barcodes, and warnings readable and safely positioned?
- Are materials and finishes described as intent rather than guaranteed reproduction?
- Have the required physical proofs or functional tests been identified?
- Does the vendor handoff include the dieline, production artwork, specifications, and reference render?
- Are unresolved assumptions and approval owners documented?
Final takeaway
A packaging 3D mockup helps teams see problems before they become expensive production problems. Its strongest role is to connect structure, artwork, materials, shelf context, and stakeholder review in one understandable visual reference. It should support—not replace—the dieline, prepress process, supplier guidance, physical proof, and functional testing. When the project needs a coordinated approach across those decisions, use the packaging design page as the next planning reference.