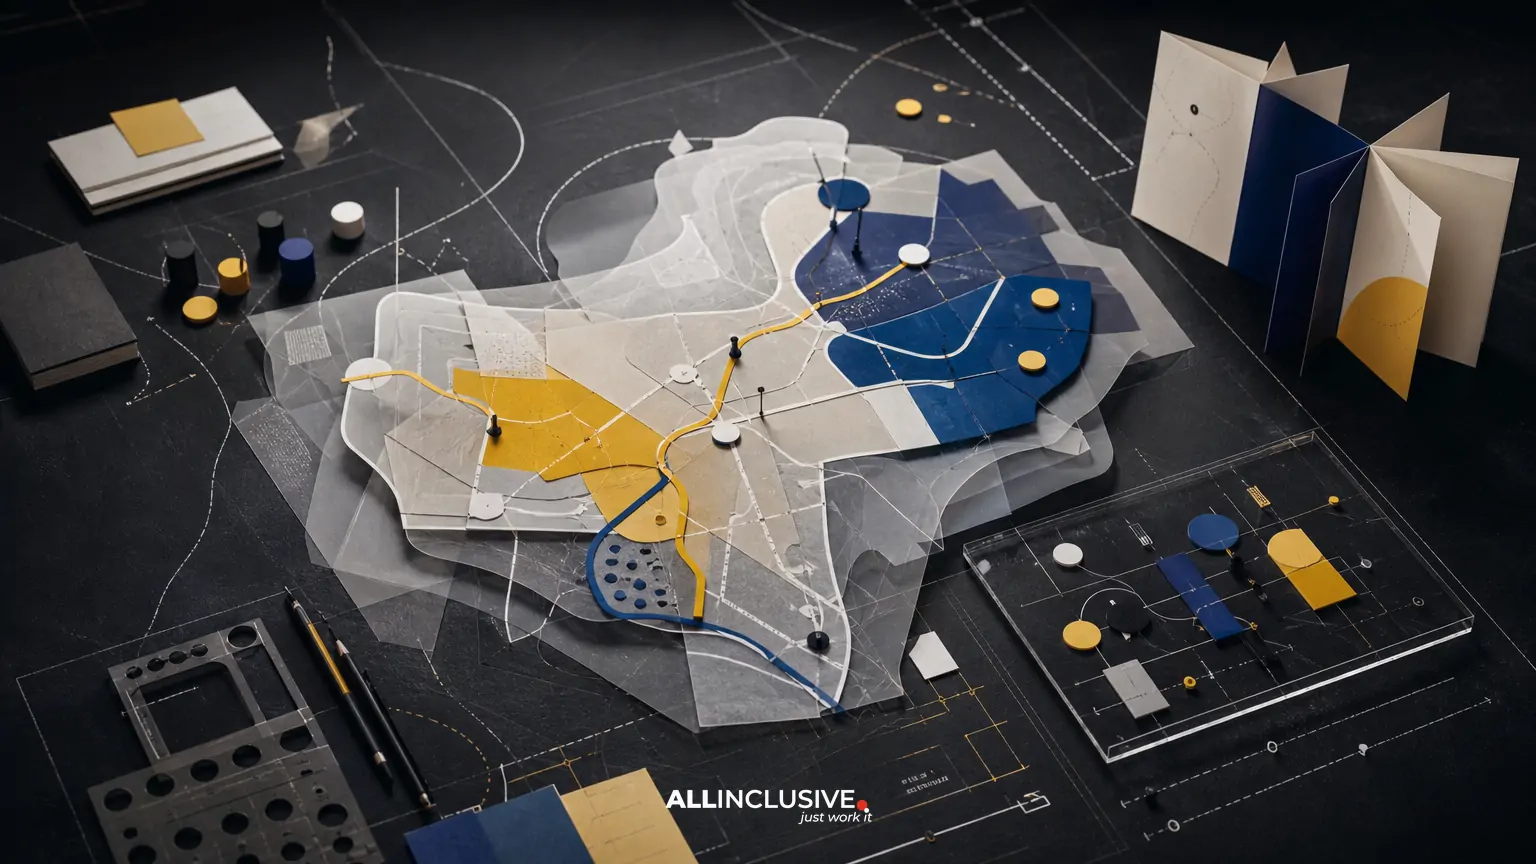
Event map design is the process of turning a complex venue, campus, district or festival footprint into a clear decision-making tool. A strong event map does more than show where things are: it helps visitors choose routes, find amenities, understand zones, recognize destinations and notice sponsors without compromising usability.
The most effective approach combines accurate spatial planning with visual hierarchy, illustration and place marketing. Start by defining the visitor tasks the map must support, then organize routes, zones, amenities and sponsor placements around those tasks. The result should work across the formats people actually use, including mobile screens, printed programs, posters, wayfinding signs and downloadable guides.
What event map design needs to accomplish
An event map usually serves several audiences at once. Attendees may need to locate a stage, session room, food vendor or accessible entrance. Staff need operational clarity. Sponsors want visibility. Organizers need a flexible asset that can be updated as layouts, programming or safety requirements change.
These goals can conflict. Adding every detail may improve completeness but reduce legibility. Enlarging sponsor marks may create commercial value but disrupt navigation. A visually expressive illustrated map may feel memorable while making distances or route connections harder to understand.
Before drawing, define the map’s priority tasks. A useful brief answers questions such as:
- What should a first-time visitor find within a few seconds?
- Which destinations are most important during peak arrival and departure periods?
- Are visitors walking, driving, cycling, using shuttles or moving between buildings?
- Which routes must remain clear for accessibility, emergency response or staff operations?
- Where can sponsors appear without being confused with destinations or directions?
- Which information belongs on the primary map, and which belongs in a legend or companion guide?
Build an accurate base before adding style
Event maps often fail before the visual design begins because the source information is incomplete or inconsistent. Gather the latest site plan, venue drawings, entrance locations, road closures, temporary structures, transit information, parking arrangements and accessibility details. Confirm which elements are permanent and which exist only for the event.
Use one dependable spatial base for the project. If multiple departments provide different versions of the site, reconcile them before visual simplification. Important checks include:
- Entrance and exit locations
- Building names and room or gate identifiers
- Pedestrian paths, crossings and restricted areas
- Accessible routes, ramps, elevators and restrooms
- Parking, rideshare, shuttle and public-transit connections
- First aid, information, security and emergency assembly points
- Temporary stages, tents, queues, barriers and service areas
Accuracy does not mean reproducing every survey detail. It means preserving the relationships that affect visitor decisions. A simplified map can be highly accurate when the relative position, sequence and access conditions are trustworthy.
Plan the route hierarchy
People rarely study an event map from beginning to end. They scan for a destination, identify a route and then look for confirmation along the way. Route hierarchy makes that behavior easier by distinguishing primary circulation from secondary paths and optional connections.
Use visual differences deliberately. A primary pedestrian spine might receive the strongest line weight or color. Secondary paths can be quieter, while service roads and restricted routes should use a distinct treatment or be omitted from the visitor-facing version. Avoid relying on color alone; line patterns, labels and symbols help users with low vision or color-vision differences.
Route planning should also account for congestion. A direct path is not always the best visitor route if it crosses a queue, narrows near a vendor or intersects vehicle movement. Consider arrival routes, circulation between major destinations, accessible alternatives and exit paths separately.
Use landmarks as confirmation points
Landmarks reduce uncertainty. Large buildings, distinctive structures, plazas, sculptures, landscape features and branded event elements can help visitors match the map to the physical environment. Give priority to landmarks that are visible from common approach routes rather than adding decorative detail indiscriminately.
Orientation aids such as a north arrow, “you are here” marker, major-entry labels and distance cues should be placed where they can be found quickly. If the map rotates by panel or destination, state the orientation clearly.
Organize zones so the map can be scanned
Zones help visitors understand an event before they read individual labels. They may represent stages, exhibit halls, food areas, family activities, sponsor villages, registration areas, parking sectors or neighborhood districts.
Give each zone a clear visual identity, but keep the system disciplined. A limited palette, consistent edge treatments and repeated symbol logic usually work better than giving every area a different decorative style. The map should communicate relationships between zones rather than making them feel like unrelated illustrations.
Zone boundaries can be shown with subtle fills, outlines, halos or labels. Do not make large color fields so strong that they overpower routes and destinations. A color-blind-safe palette and sufficient contrast are particularly important when zones carry operational meaning.
Separate visitor-facing and operational information
Not every internal detail belongs on the public map. Staff-only access points, back-of-house loading areas, temporary storage and technical infrastructure may create clutter or expose information that visitors do not need.
When operational details are essential, consider separate layers or versions: a public attendee map, a staff operations map and a production file that supports signage and updates. This approach keeps the visitor map focused while preserving the underlying information for the event team.
Make amenities findable, not merely present
Amenities are among the most searched-for elements on an event map. Common examples include restrooms, water refill stations, first aid, information desks, charging stations, seating, food and beverage, ATMs, nursing or wellness areas and accessible facilities.
Use a consistent icon family and a legend that is readable at the smallest intended size. Pair icons with labels when ambiguity is possible. For example, a general facility symbol may not communicate whether a location is a restroom, changing area or wellness room.
Accessibility should be built into the map rather than treated as a note at the bottom. Show accessible entrances and routes, elevator locations, ramps, accessible restrooms and any route limitations. If an accessible path differs from the most direct route, make that distinction clear without implying that it is secondary or less important.
Also consider practical map accessibility:
- Use readable type sizes at the expected viewing distance.
- Maintain strong contrast between labels, backgrounds and route lines.
- Do not communicate a category through color alone.
- Provide text alternatives or a structured companion guide for digital use.
- Test the map on a phone, under glare and in low-light conditions when relevant.
Design sponsor visibility into the system
Sponsor visibility works best when it is planned as part of the information architecture. Treating logos as last-minute additions often creates clutter, inconsistent scale and confusion between commercial marks and wayfinding symbols.
Begin by agreeing on the sponsor obligations: logo placement, naming rights, branded zones, activation locations, map-panel presence or directional references. Then define a hierarchy. A presenting sponsor may receive a designated information area, while supporting sponsors may appear in a sponsor index or near their physical activation.
Useful placements include:
- A sponsor or partner panel outside the core navigation field
- Clearly labeled branded activation zones
- Destination callouts that identify a sponsor-supported experience
- A controlled logo band on printed programs or posters
- Digital detail views where additional information can be opened without crowding the overview
Keep sponsorship visually distinct from directions. Logos should not resemble restroom, entrance or emergency symbols. Avoid placing marks over route lines, inside critical labels or at sizes that make the map’s commercial layer more prominent than its navigational purpose.
Design for print, digital and signage together
An event map rarely has one final size. The same system may need to support a pocket guide, a letter-size schedule, a large entrance poster, a website image, a mobile interface and directional signs. Designing only one output and shrinking or enlarging it later usually produces illegible type and inconsistent hierarchy.
Define the output set early. For each format, determine the minimum readable type, required bleed or safe area, color profile, file type, accessibility needs and update process. A responsive or modular map system can preserve the same visual language while changing the amount of detail.
| Output | Primary use | Design consideration |
|---|---|---|
| Mobile or web map | Search, orientation and live updates | Readable at small scale, fast-loading and structured for zoom or detail views |
| Printed program | Personal reference during the event | Compact legend, strong contrast and economical use of space |
| Entrance poster | Orientation before visitors disperse | Large labels, clear “you are here” points and fast scanning |
| Directional signage | Movement at decision points | Minimal information, distance or destination priority and viewing-distance testing |
Keep source files organized so late changes do not require rebuilding every format manually. Separate base geography, labels, symbols, zones, sponsor content and output-specific adjustments whenever possible.
Choose illustration strategically
Illustration can make an event map more memorable and help it communicate the character of a place. Buildings can be shown as simplified forms, attractions can receive distinctive silhouettes and landscape can create a recognizable visual frame.
Use illustration to support orientation, not to compete with it. A landmark that is visually attractive but positioned inaccurately can mislead visitors. Likewise, exaggerated perspective may create a compelling poster but weaken route decisions. Decide whether the project needs a diagrammatic map, a realistic illustrated map, a pictorial map or a hybrid system.
For many events, a hybrid approach is effective: preserve a logical plan view for routes and zones, then add selective illustrated landmarks and place-specific details. This creates character while protecting navigational clarity.
Test the map with realistic tasks
Reviewing a map only on a design screen is not enough. Test it using the questions visitors will ask under time pressure. Give reviewers tasks such as:
- Find the nearest accessible entrance from the main arrival point.
- Locate a specific stage, room or activation.
- Trace a route from registration to a destination.
- Find restrooms, water and first aid.
- Identify where a shuttle or rideshare pickup occurs.
- Locate a sponsor activation without confusing it with a required service.
Test with people who understand the site and people who do not. Staff may overlook problems because they already know the venue. First-time users reveal unclear labels, missing context and assumptions about orientation.
Review the map in its actual conditions: folded, printed, held while walking, viewed outdoors, displayed on a phone and encountered from a distance. Check whether the legend can be found, whether the map communicates its orientation and whether key destinations remain visible when sponsor content is included.
Common event map design mistakes
- Starting with decoration: A distinctive visual style cannot compensate for missing routes, incorrect locations or weak hierarchy.
- Showing everything at equal weight: Uniform labels make it difficult to identify the next decision point.
- Using too many colors: A crowded palette reduces category recognition and can create accessibility problems.
- Adding sponsors at the end: Late logo placement often covers important information or creates inconsistent scale.
- Ignoring the arrival sequence: The best overview may not answer what a visitor needs at the gate or parking area.
- Designing one file for every output: A map that works as a poster may fail as a pocket guide or mobile graphic.
- Skipping update ownership: Event information changes. Without a clear source of truth, revisions can become contradictory.
A practical event map design checklist
Before approval, confirm that the map has a reliable base, a defined audience and a documented output plan. Then check the following:
- Are all public entrances, exits and primary routes current?
- Can a first-time visitor identify their location and destination?
- Are zones visually distinct but still part of one coherent system?
- Are essential amenities labeled with consistent, understandable symbols?
- Are accessible routes and facilities accurate and visible?
- Are sponsor placements agreed, legible and clearly separate from navigation?
- Does the map work in print, digital and sign formats?
- Has it been tested with realistic visitor tasks?
- Is there an owner for final factual review and future updates?
How to evaluate an event map design partner
When comparing designers or studios, look beyond illustration style. Ask how they validate spatial information, manage revisions, build symbol and type systems, prepare multiple outputs and handle accessibility. Request examples that show both the finished map and the underlying logic: route hierarchy, zone structure, legends, signage adaptations or responsive views.
It is also useful to ask who supplies site information, who approves factual accuracy, how sponsor requirements are incorporated and what files are delivered at the end. If your event spans multiple venues or visitor contexts, review related approaches such as campus map design and tourism map design.
For broader evaluation criteria, see how to choose a map designer. It can help separate a visually appealing concept from a map system that is accurate, maintainable and usable across touchpoints.
Final decision: prioritize the visitor’s next action
The best event map makes the next action obvious: enter here, follow this route, turn at this landmark, find this amenity or visit this zone. Sponsor visibility and visual character should strengthen that experience rather than compete with it.
Once the information architecture, route logic and output requirements are clear, the project can be scoped as part of a broader map design engagement. For adjacent brand, campaign or collateral needs, the wider design practice may provide useful context, but the map should remain accountable to real visitor decisions.